
Growing potatoes bucket is a fantastic way to enjoy fresh, home-grown potatoes without needing a large garden. It’s simple and easy, perfect for any gardener, regardless of experience. In this article, I’ll share my personal experience with growing potatoes in a bucket, along with some tips and tricks I’ve learned.
One of the biggest advantages of growing potatoes in a bucket is that it allows you to grow potatoes in a small space. This is ideal for those who live in apartments or have limited outdoor space. It also means that you can grow potatoes all year round, regardless of the weather. Another advantage is that it’s a great way to control the soil quality and avoid soil-borne diseases that can affect potato crops. By using a good quality compost, you can ensure that your potatoes are healthy and free from harmful chemicals.
Understanding Potatoes
As someone who has grown potatoes in a bucket, it is important to understand the basics of potato cultivation. Here are a few things that you should know:
Potato Varieties
There are many different types of potatoes, each with its own unique flavor and texture. Some of the most common varieties include Russet, Yukon Gold, Red, and Fingerling potatoes. When choosing a variety to grow, it is important to consider the flavor, texture, and cooking properties of each type.
Nutrient Requirements
Potatoes are a good source of vitamins and minerals, including vitamin C, potassium, and fiber. To grow healthy potatoes, it is important to provide them with the right nutrients. Potatoes require a balanced fertilizer high in nitrogen, phosphorus, and potassium. It is also important to ensure that the soil is well-draining and has a pH between 5.0 and 7.0.
Temperature and Climate
Potatoes grow best in cool, moist climates with temperatures between 60 and 70 degrees Fahrenheit. They are sensitive to frost and should be planted after the last frost date in your area. Potatoes can also be grown in warmer climates, but they may require more frequent watering and protection from the sun.
Understanding the basics of potato cultivation is essential for growing healthy and tasty potatoes in a bucket. By choosing the right variety, providing the right nutrients, and ensuring the right temperature and climate, you can grow a bountiful harvest of potatoes in your own backyard.
Choosing the Right Bucket
As someone who has grown potatoes in a bucket before, I can tell you that choosing the right bucket is crucial to the success of your potato-growing endeavor. In this section, I will provide some tips on how to choose the perfect bucket for your potato-growing needs.
Bucket Size and Material
When it comes to bucket size, a 5-gallon bucket is the most commonly used size for growing potatoes. However, you can also use larger or smaller buckets depending on your needs. Keep in mind that the smaller the bucket, the fewer potatoes you can grow, and the larger the bucket, the more potatoes you can grow.
As for the material of the bucket, plastic buckets are the most commonly used because they are lightweight and easy to move around. However, make sure to choose a food-grade plastic bucket to avoid any harmful chemicals from leaching into your potatoes.
Drainage Hole Essentials
One of the most important aspects of growing potatoes in a bucket is ensuring proper drainage. Without adequate drainage, your potatoes can become waterlogged and rot.
To ensure proper drainage, drill several small holes in the bottom of your bucket. The number of holes you drill will depend on the size of your bucket, but make sure to drill enough to allow excess water to drain out.
In addition to the drainage holes, you can also add a layer of rocks or gravel to the bottom of your bucket to help with drainage. This will prevent the drainage holes from getting clogged with soil and allow for better water flow.
Overall, choosing the right bucket for your potato-growing needs is essential to a successful harvest. Make sure to choose a size and material that works for you and ensure proper drainage by drilling holes and adding a layer of rocks or gravel.
Preparing the Bucket
When it comes to growing potatoes in a bucket, preparing the bucket is an essential step to ensure a successful yield. Here are the steps to follow:
Soil and Compost Mixture
The soil and compost mixture is crucial for the growth of potatoes. I recommend using well-draining soil mixed with organic matter such as compost. The ideal ratio is 1:1. This will provide the necessary nutrients for the potatoes to grow healthy and strong.
Creating Drainage
Drainage is essential to prevent waterlogging, which can cause the potatoes to rot. I suggest drilling drainage holes in the bottom of the bucket. The number of holes will depend on the size of the bucket. For a 5-gallon bucket, 4-5 holes should be enough. Make sure the holes are not too big to prevent the soil from escaping.
Bucket Placement
The placement of the bucket is also important. Potatoes need full sunlight for at least six hours a day. Therefore, it is best to place the bucket in an area that receives ample sunlight. Keep in mind that potatoes prefer cooler temperatures, with the sweet spot between 60 and 70 degrees Fahrenheit. If the temperatures go too high (above 80 degrees), potato plants may stop forming tubers.
Preparing the bucket for growing potatoes involves creating a well-draining soil and compost mixture, drilling drainage holes in the bottom of the bucket, and placing the bucket in an area that receives ample sunlight and cooler temperatures. By following these steps, you can ensure a successful yield of homegrown potatoes.
Planting Process
When it comes to growing potatoes in a bucket, the planting process is crucial to ensure a bountiful harvest. Here are the key steps to follow when planting your seed potatoes.
Seed Potatoes and Sprouting
First, you need to choose the right seed potatoes. Look for certified disease-free seed potatoes at your local garden center or online. Once you have your seed potatoes, it’s important to sprout them before planting. This involves placing them in a cool, dark place for a few weeks until they start to grow sprouts. This step helps to ensure that your potatoes will grow healthy and strong.
Planting Depth and Spacing
When planting your seed potatoes, make sure to plant them at the right depth. A good rule of thumb is to plant them about 6 inches deep. You should also space them out properly to allow for good air circulation and prevent overcrowding. Aim to plant your seed potatoes about 6 inches apart.
Watering and Fertilizing
Watering is another critical factor in growing potatoes in a bucket. Make sure to keep the soil moist but not waterlogged. You should also fertilize your plants regularly to ensure they have all the nutrients they need to grow strong and healthy. A balanced fertilizer with equal amounts of nitrogen, phosphorus, and potassium is ideal.
By following these steps, you can ensure that your potato plants will grow strong and healthy, and produce a bountiful harvest.
Potato Growth Cycle
As a potato plant grows, it goes through several stages of development. Understanding these stages can help you better care for your potato plants and maximize your harvest.
Hilling Potatoes
One important aspect of growing potatoes is hilling. This involves mounding soil around the base of the plant as it grows. Hilling potatoes serves several purposes. First, it helps to protect the developing tubers from sunlight, which can cause them to turn green and become toxic. Second, it helps to anchor the plant in place and prevent it from falling over. Finally, it provides additional soil for the plant to draw nutrients from.
To hill potatoes, start by waiting until the plant is about 6 inches tall. Then, use a hoe or shovel to gently mound soil around the base of the plant, being careful not to damage the stems or leaves. Repeat this process every few weeks as the plant continues to grow.
Monitoring Growth
As your potato plants grow, it is important to monitor their progress. Keep an eye out for signs of stress, such as wilting, yellowing leaves, or stunted growth. These can be signs of pests or diseases, or they may indicate that the plant is not getting enough water or nutrients.
To ensure that your potato plants are healthy, make sure they are getting adequate water and nutrients. You can also use pesticides or other treatments to control pests and diseases. Be sure to follow the instructions carefully and use these products sparingly.
Pests and Diseases
Potatoes are susceptible to a variety of pests and diseases, including root rot, aphids, and potato beetles. To prevent these problems, it is important to keep your plants healthy and well-maintained. This includes hilling the plants, monitoring their growth, and using pesticides or other treatments as needed.
If you do notice signs of pests or diseases, take action immediately. This may involve removing infected plants or using pesticides to control the problem. Be sure to follow all instructions carefully and dispose of any infected plants or soil properly to prevent the spread of disease.
Harvesting and Storage – Potatoes Bucket
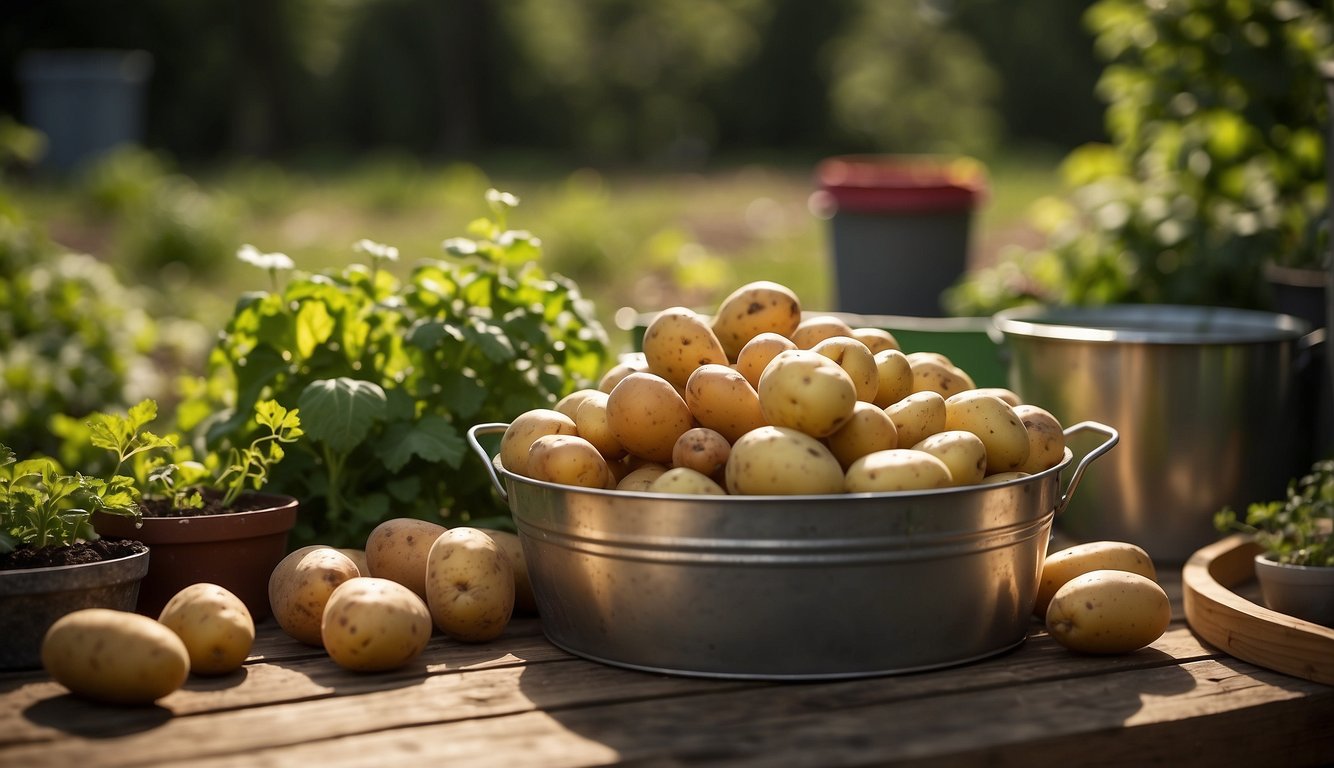
As a potato bucket gardener, I love the satisfaction of harvesting my own homegrown potatoes. When it comes to harvesting and storage, there are a few things to keep in mind to ensure a bountiful harvest and long-term storage.
When to Harvest
Knowing when to harvest your potatoes is crucial for a successful harvest. You should wait until the plants have died back and the leaves have turned yellow before harvesting. This usually occurs around 90-120 days after planting. However, if you want new potatoes, you can harvest them earlier, when the plants are still green and flowering.
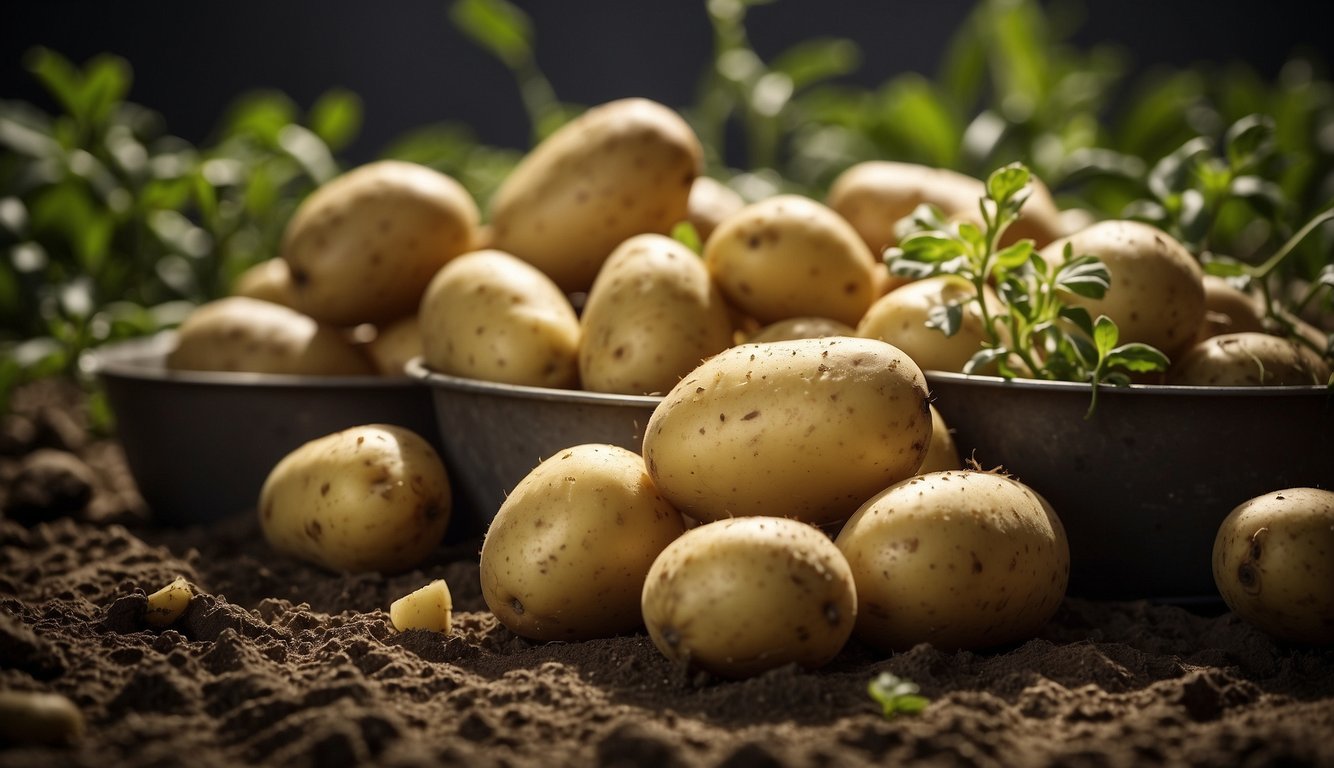
Digging and Yield – Potatoes Bucket
To harvest, dig around the plant with a garden fork or spade and gently lift the plant out of the soil. Be careful not to damage the potatoes during the process. Once you have harvested your potatoes, it’s time to determine your yield. On average, one pound of seed potatoes will yield around 10 pounds of potatoes. However, this can vary depending on growing conditions and the variety of potatoes you planted.
Storing Homegrown Potatoes
Proper storage is essential to keep your homegrown potatoes fresh for an extended period. After harvesting, allow the potatoes to dry for a few hours to prevent moisture buildup, which can lead to rotting. Then, store them in a cool, dark, and dry place, such as a root cellar or a pantry. It’s essential to keep them away from direct sunlight and sources of heat, which can cause sprouting. To prevent sprouting, you can use sprout inhibitors, such as ethylene gas or potato seed treatments.
Overall, harvesting and storing homegrown potatoes is a rewarding experience that requires some knowledge and care. By following these tips, you can enjoy a bountiful harvest and delicious potatoes throughout the year.
Maintenance and Reuse – Potatoes Bucket
As someone who has been growing potatoes in buckets for a while, I have learned that proper maintenance and reuse of buckets and soil mix are essential for a successful harvest. In this section, I will share some tips on how to clean and store buckets and how to reuse the soil mix.
Cleaning and Storing Buckets – Potatoes Bucket
Cleaning and storing buckets properly is important for their longevity and ensuring that they are free of any harmful pathogens or contaminants that could harm your plants. After harvesting your potatoes, remove any remaining soil from the bucket and wash it thoroughly with soap and water. Rinse it well and let it dry completely.
To store the buckets, stack them up neatly in a dry and cool place, away from direct sunlight. Avoid storing them in damp or humid areas, which can lead to mold growth.
Reusing Soil
Reusing soil is a great way to save money and reduce waste. However, it is important to ensure that the soil is still healthy and nutrient-rich for your plants. Before reusing the soil, remove any plant debris and large rocks. Then, mix in some fresh compost or organic fertilizer to replenish the nutrients.
It is also a good idea to rotate your soil mix every few years to prevent nutrient depletion and disease buildup. You can do this by mixing in fresh soil or planting different crops in the same bucket.
Proper maintenance and reuse of buckets and soil mix are crucial for a successful potato harvest. By following these simple tips, you can ensure that your buckets and soil are healthy and ready for the next growing season.
Advantages of Bucket Gardening – Potatoes Bucket
As someone who has been gardening for years, I have found that bucket gardening has several advantages over traditional gardening methods. Here are some of the reasons why I prefer to grow potatoes in a bucket:
Space Efficiency – Potatoes Bucket
One of the biggest advantages of bucket gardening is its space efficiency. If you have limited space, such as a small patio or balcony, bucket gardening is an ideal solution. You can grow potatoes in a bucket and still have plenty of space for other plants or outdoor furniture.
In addition, bucket gardening is also perfect for raised beds. Raised beds can be expensive and time-consuming to build, but with bucket gardening, you can create a raised bed effect without the hassle. Simply stack the buckets on top of each other and fill them with soil.
Mobility and Accessibility
Another advantage of bucket gardening is its mobility and accessibility. Buckets are easy to move around, so you can position them wherever you want, depending on the amount of sunlight your plants need. This is especially useful if you have a small patio that doesn’t get a lot of sunlight.
In addition, bucket gardening is also great for those who have limited mobility. With traditional gardening methods, you have to bend down to tend to your plants, which can be difficult for some people. With bucket gardening, you can position your plants at a height that is comfortable for you.
Overall, bucket gardening is a great option for those who want to grow potatoes but have limited space or mobility. It’s also a great option for those who want to try container gardening but don’t want to invest in expensive containers.
Additional Tips and Tricks – Potatoes Bucket

Mulching and Organic Practices – Potatoes Bucket
When it comes to growing potatoes in buckets, mulching is an excellent way to maintain moisture levels in the soil. Mulching also helps to suppress weed growth, which can be a significant problem in container gardening. I recommend using organic mulch such as straw or shredded leaves. These materials not only provide excellent moisture retention, but they also break down over time, adding valuable nutrients to the soil.
If you’re interested in growing organic potatoes, then it’s essential to use organic practices throughout the growing process. This means using organic seed potatoes, avoiding chemical fertilizers and pesticides, and using organic mulch. Organic potatoes are not only better for the environment, but they’re also healthier for you and your family.
Choosing the Right Location
Choosing the right location for your potato bucket is crucial for a successful harvest. Potatoes love sunlight, so it’s best to place your bucket in a location that receives at least six hours of direct sunlight per day. If you’re growing potatoes indoors, then place your bucket near a bright window.
It’s also important to choose the right type of container for your potatoes. While buckets are an excellent choice, you can also use garden beds or other types of containers. Just make sure that your container has adequate drainage and that it’s deep enough to accommodate your potato plants.
Mulching and organic practices are essential for growing healthy, tasty potatoes in buckets. Choosing the right location for your bucket is also crucial for a successful harvest. By following these tips and tricks, you’ll be well on your way to growing your own delicious potatoes at home.
Troubleshooting Common Issues – Potatoes Bucket
As with any gardening endeavor, growing potatoes in a bucket can come with its fair share of challenges. Here are a few tips to help you troubleshoot common issues that may arise.
Dealing with Overwatering – Potatoes Bucket
One of the most common mistakes when growing potatoes in a bucket is overwatering. It’s important to remember that potatoes need water, but they don’t like to be waterlogged. Overwatering can lead to root rot and other issues that can harm your plants.
To prevent overwatering, make sure your bucket has drainage holes. If your bucket doesn’t have any holes, drill a few in the bottom to allow excess water to escape. Another way to prevent overwatering is to use a well-draining soil mix. A mix that contains perlite or vermiculite can help improve drainage.
Preventing Rot and Disease
Potatoes are susceptible to rot and disease, especially if they’re not grown in the right conditions. One of the most common issues is rotting, which can be caused by overwatering, poor drainage, or damage to the potato.
To prevent rot, make sure your bucket has drainage holes and that your soil mix is well-draining. If you notice any signs of rot, such as a foul smell or soft spots on the potato, remove the affected potato immediately to prevent the rot from spreading.
Another issue to watch out for is solanine poisoning. Solanine is a toxic compound that can be found in green potatoes or potato sprouts. To prevent solanine poisoning, make sure to store your potatoes in a cool, dark place and avoid eating any potatoes that have turned green or have sprouted.
Finally, be careful when using herbicides or other chemicals around your potato plants. These chemicals can harm your plants and may even make your potatoes unsafe to eat. If you do use chemicals, make sure to follow the instructions carefully and avoid spraying them directly on your plants.
By following these tips, you can help prevent common issues when growing potatoes in a bucket and ensure a healthy harvest.
Before You Go – Potatoes Bucket
Growing potatoes in a bucket proves that you don’t need a large garden to enjoy a hearty harvest. With just a container, good soil, and a few seed potatoes, you can create a productive mini potato patch right at home.
Before you go, remember to choose a bucket with proper drainage, add soil gradually as the plants grow, and keep the container in a sunny spot. Consistent watering and occasional feeding will help your plants thrive and reward you with fresh, homegrown potatoes.
By starting small and experimenting with this simple method, you’ll discover how easy and satisfying it is to grow your own food even in limited spaces.
Don’t forget to add theherbprof.com homepage to your favourites so you don’t miss out on future articles!
References – Potatoes Bucket
Little Herb Encyclopedia, by Jack Ritchason; N.D., Woodland Publishing Incorporated, 1995
The Ultimate Healing System, Course Manual, Copyright 1985, Don Lepore
Planetary Herbology, Michael Tierra, C.A., N.D., Lotus Press, 1988
Handbook of Medicinal Herbs, by James A. Duke, Pub. CRP Second Edition 2007
The Complete Medicinal Herbal, by Penelope Ody, Published by Dorling Kindersley
Check the Following Articles
Are All Hibiscus Flowers Edible? A Comprehensive Guide
Potato Containers: Best Options for Growing Your Spuds
Growing from Scraps: How to Regrow Vegetables
Frequently Asked Questions – Potatoes Bucket
How can I create a DIY potato bucket for growing potatoes?
Creating a DIY potato bucket is easy and cost-effective. You will need a 5-gallon bucket, a drill, a piece of burlap, and some potting soil. First, drill several holes in the bottom of the bucket for drainage. Then, fill the bucket with potting soil and plant your potato seedlings. Cover the seedlings with soil and water them regularly. Finally, cover the bucket with a piece of burlap to protect the potatoes from sunlight.
What are the steps to grow potatoes in a bucket indoors?
Growing potatoes in a bucket indoors is similar to growing them outdoors. However, you will need to provide artificial light and warmth for the plants. First, select a location with plenty of light and warmth. Drill drainage holes on the bottom of the bucket and fill it with soil. Plant your potato seedlings and water them regularly. Provide artificial light and warmth for the plants using grow lights and a space heater.
What is the ideal method for growing potatoes in buckets using straw?
Growing potatoes in buckets using straw is a popular method because it is easy and requires less soil. First, fill the bottom of the bucket with 6 inches of soil. Then, place your potato seedlings on top of the soil and cover them with straw. Add more straw as the plants grow taller. Water the plants regularly and add more soil or compost as needed.
How frequently should I water potatoes grown in a bucket?
Potatoes grown in a bucket should be watered regularly to keep the soil moist. However, overwatering can lead to root rot, so it is important to strike a balance. A good rule of thumb is to water the plants when the top inch of soil feels dry. During hot and dry weather, you may need to water the plants more frequently.
What is the expected yield of potatoes from a 5-gallon bucket?
The yield of potatoes from a 5-gallon bucket can vary depending on several factors, such as the variety of potato, the soil quality, and the growing conditions. However, on average, you can expect to harvest 3-5 pounds of potatoes from a single bucket.
What are the best practices for storing potatoes in a 5-gallon bucket?
After harvesting your potatoes, it is important to store them properly to prevent spoilage. First, brush off any excess soil and let the potatoes dry in a cool, dry place for a few days. Then, place the potatoes in a 5-gallon bucket and cover them with a lid. Store the bucket in a cool, dark place such as a basement or pantry. Check the potatoes regularly for signs of spoilage and remove any rotten potatoes to prevent the spread of decay.