TheHerbProf.com is a treasure trove of knowledge for those interested in natural healing and herbal remedies. The website is run by Paul Johnston MD. A naturopathic who has not only received extensive education in the field but also has personal experience in self-healing.
If you’re looking for an easy and inexpensive way to compost your kitchen scraps, a DIY Bokashi Bucket might be the perfect solution for you. Bokashi composting is a method of composting that uses anaerobic bacteria to break down food waste quickly. Unlike traditional composting, which relies on aerobic bacteria and takes several months to produce usable compost, bokashi composting can produce usable compost in just a few weeks.
To make a DIY Bokashi Bucket, you’ll need two food-grade buckets with lids, some bokashi bran, and a drill. The first step is to drill several small holes in the bottom of one of the buckets to allow for drainage. Next, place the drilled bucket inside the second bucket, which should be left intact. Then, add a layer of bokashi bran to the bottom of the drilled bucket, followed by a layer of food waste. Repeat this process until the bucket is full, making sure to sprinkle a layer of bokashi bran on top of each layer of food waste. Finally, seal the lid tightly and let the bucket sit for two weeks before transferring the contents to a compost pile or burying it in the ground.
By using a DIY Bokashi Bucket, you can reduce your household waste and produce nutrient-rich compost for your garden or houseplants. Plus, since bokashi composting is an anaerobic process, it doesn’t produce any unpleasant odors, making it a great option for apartment dwellers or anyone who doesn’t have access to an outdoor compost pile.
Understanding Bokashi Composting
As someone who has been composting for years, I was excited to learn about Bokashi composting. This method is a bit different from traditional composting, but it offers some unique benefits that make it worth considering. In this section, I will explain the principles of Bokashi composting and the benefits it offers over traditional composting.
Principles of Bokashi
Bokashi composting is a method of fermentation that relies on anaerobic conditions to break down organic matter. Rather than relying on aerobic bacteria to decompose organic matter, Bokashi composting uses a mixture of effective microorganisms (EM) to ferment the waste. This mixture typically includes lactic acid bacteria, yeasts, and photosynthetic bacteria. The EM mixture is added to the waste in a Bokashi bucket, which is then sealed to create an anaerobic environment.
Benefits of Bokashi Over Traditional Composting
One of the primary benefits of Bokashi composting is that it can handle a wider range of waste than traditional composting. While traditional composting can handle most plant materials, paper and cardboard, and some manures, Bokashi composting can also handle meat, dairy, and other food waste. This is because the fermentation process kills off harmful bacteria and breaks down the waste more thoroughly.
Another benefit of Bokashi composting is that it is much faster than traditional composting. While traditional composting can take several months to a year to produce usable compost, Bokashi composting can produce usable compost in as little as two weeks. This is because the fermentation process breaks down the waste more quickly than aerobic decomposition.
Overall, Bokashi composting is a unique and effective method of composting that is worth considering if you want to compost a wider range of waste and produce usable compost more quickly.
Designing Your DIY Bokashi Bucket
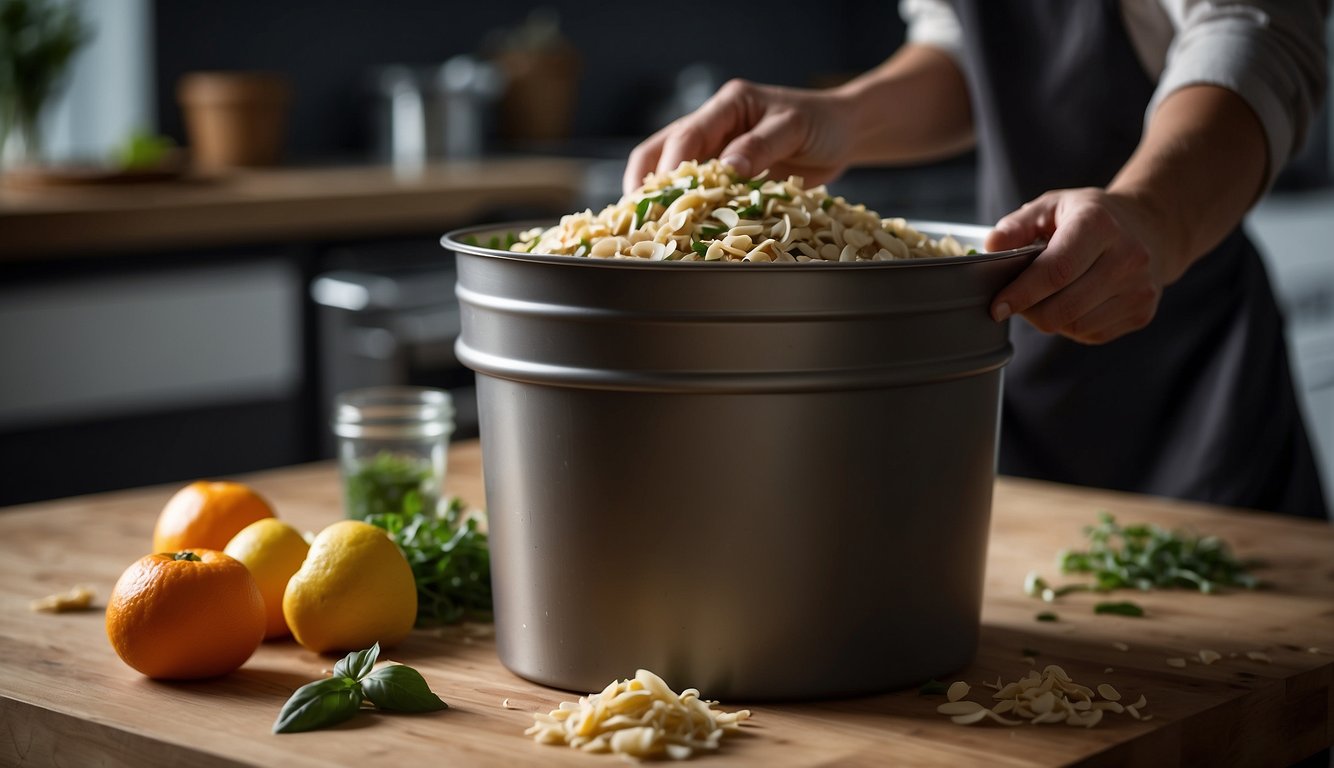
Assembling your own Bokashi bucket is a fun and easy DIY project that can help you reduce your food waste and create nutrient-rich compost for your garden. Here are some key considerations when designing your DIY Bokashi bucket:
Choosing the Right Bucket – DIY Bokashi Bucket
The first step in designing your Bokashi bucket is to choose the right bucket. You will need two 5-gallon plastic buckets, one of which will serve as the inner bucket and the other as the outer bucket. You can find plastic buckets at most hardware stores or online retailers.
Airtight Lid Construction
An airtight lid is essential for a Bokashi bucket to prevent oxygen from entering the container and disrupting the fermentation process. You can use a paint bucket lid or create your own lid using a piece of plywood and weatherstripping tape.
Creating Drainage Holes and Spigot Installation
To allow for the drainage of excess liquid, drill several small holes in the bottom of the inner bucket. You can use an electric drill to make the holes, or a hammer and nail if you do not have a drill.
To make it easier to drain the liquid, consider installing a spigot at the bottom of the outer bucket. Simply drill a hole near the bottom of the bucket and insert a spigot. Make sure to seal the spigot with silicone to prevent leaks.
By following these simple steps, you can create your own Bokashi bucket and start composting your food waste at home.
Preparing Bokashi Mix – DIY Bokashi Bucket
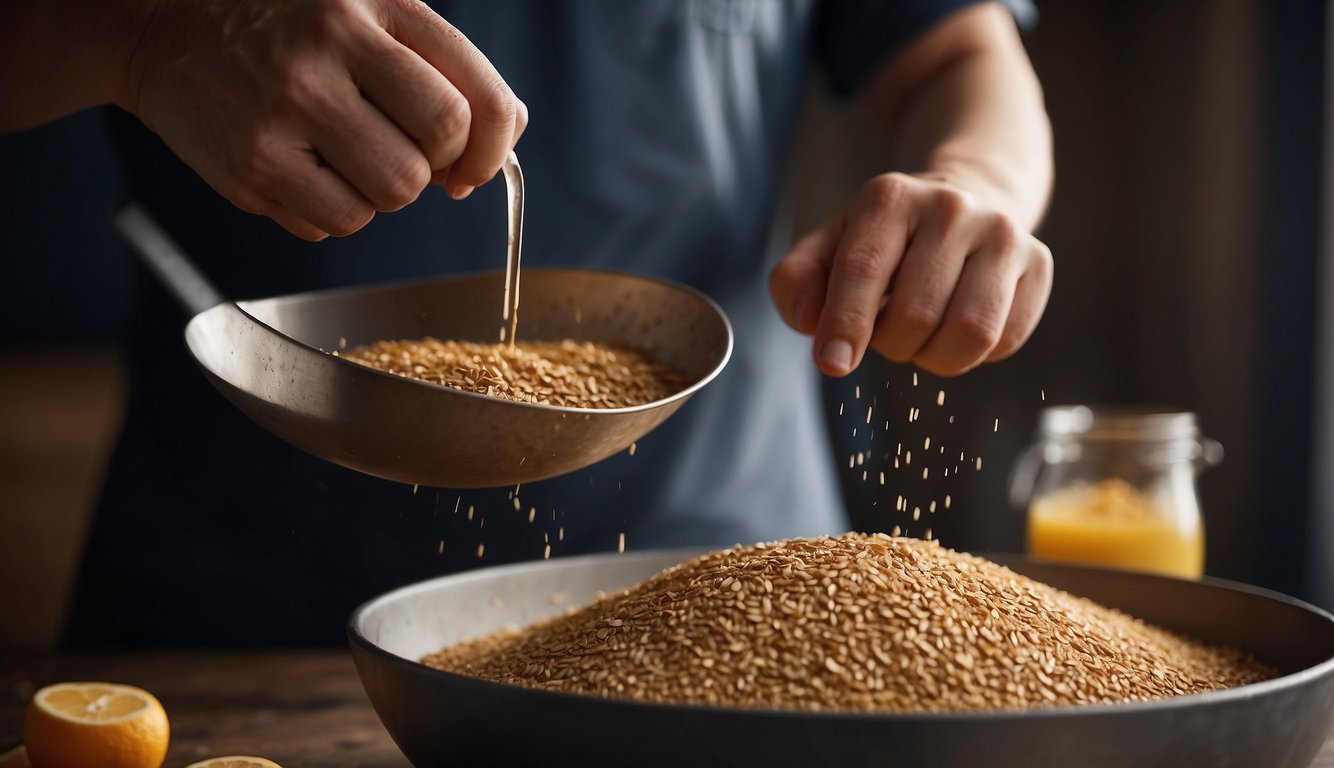
When making a DIY bokashi bucket, preparing the bokashi mix is an essential step. The bokashi mix is the inoculated organic matter that will ferment in the bucket, breaking down the food scraps and creating a nutrient-rich soil amendment. In this section, I will discuss the two main components of the bokashi mix: bokashi bran and homemade inoculants.
Bokashi Bran and Its Alternatives – DIY Bokashi Bucket
Bokashi bran is a commercially available product that contains a mixture of wheat bran, rice bran, and sawdust that has been inoculated with beneficial microorganisms. The microorganisms in the bran ferment the food scraps in the bucket, breaking them down and creating a nutrient-rich soil amendment. Bokashi bran is readily available online and in some garden centers.
However, if you cannot find bokashi bran or prefer to make your own, there are alternatives. One alternative is to use sawdust or rice bran as the base material and inoculate it with a bokashi inoculant. Another alternative is to use wheat mill run, which is a byproduct of wheat milling that is high in carbohydrates and can be inoculated with beneficial microorganisms.
Homemade Inoculants
In addition to using bokashi bran or its alternatives, you can also make your own inoculant to add to the bokashi mix. To make a homemade inoculant, you will need to gather a variety of organic materials, such as fruit and vegetable scraps, eggshells, and coffee grounds. These materials will be used to inoculate a base material, such as sawdust or rice bran.
To make the inoculant, chop the organic materials into small pieces and mix them with the base material. Place the mixture in a sealed container and let it ferment for several days, stirring occasionally. Once the mixture has fermented, it can be added to the bokashi mix in the bucket.
Preparing the bokashi mix is an essential step in making a DIY bokashi bucket. Bokashi bran is a commercially available product that can be used as the base material, or you can make your own using sawdust, rice bran, or wheat mill run. Homemade inoculants can also be used to add beneficial microorganisms to the bokashi mix.
Using Your Bokashi Bucket – DIY Bokashi Bucket
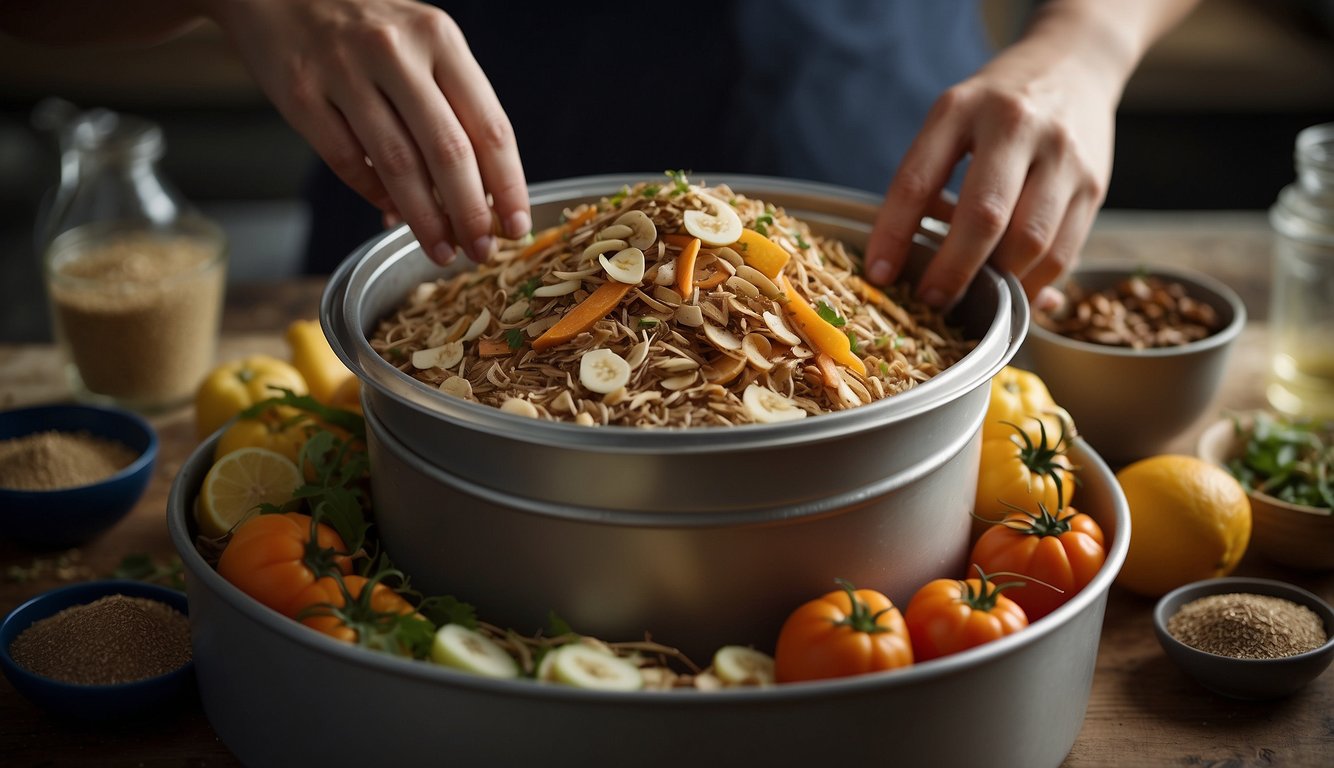
Congratulations on making your own bokashi bucket! Now that you have your bucket ready, it’s time to start using it to compost your kitchen scraps. Here are some tips to help you get started:
Layering Kitchen Waste
When adding kitchen waste to your bokashi bucket, it’s important to layer it with bokashi bran. This helps to introduce the beneficial microorganisms that will ferment the waste and turn it into nutrient-rich soil. I recommend adding a layer of kitchen scraps, followed by a layer of bokashi bran, and then repeating until the bucket is full. Be sure to press down on each layer to remove any air pockets and ensure good contact between the waste and the bran.
Maintaining Anaerobic Conditions – DIY Bokashi Bucket
Bokashi composting is an anaerobic process, which means that it takes place in the absence of oxygen. This is different from traditional composting, which is aerobic and requires oxygen. To maintain anaerobic conditions in your bokashi bucket, it’s important to keep the lid tightly sealed. This will prevent oxygen from entering the bucket and interfering with the fermentation process. It’s also a good idea to keep your bucket in a cool, dark place, as heat and sunlight can also disrupt the fermentation process.
Draining Bokashi Tea
As the waste in your bokashi bucket ferments, it will release a liquid called bokashi tea. This tea is rich in nutrients and can be used as a fertilizer for your plants. To drain the bokashi tea from your bucket, simply remove the spigot at the bottom of the bucket and collect the liquid in a container. Be sure to dilute the tea with water before using it on your plants, as it can be quite strong.
By following these tips, you’ll be well on your way to producing nutrient-rich soil for your garden. Happy composting!
Aftercare and Utilizing Bokashi Compost – DIY Bokashi Bucket
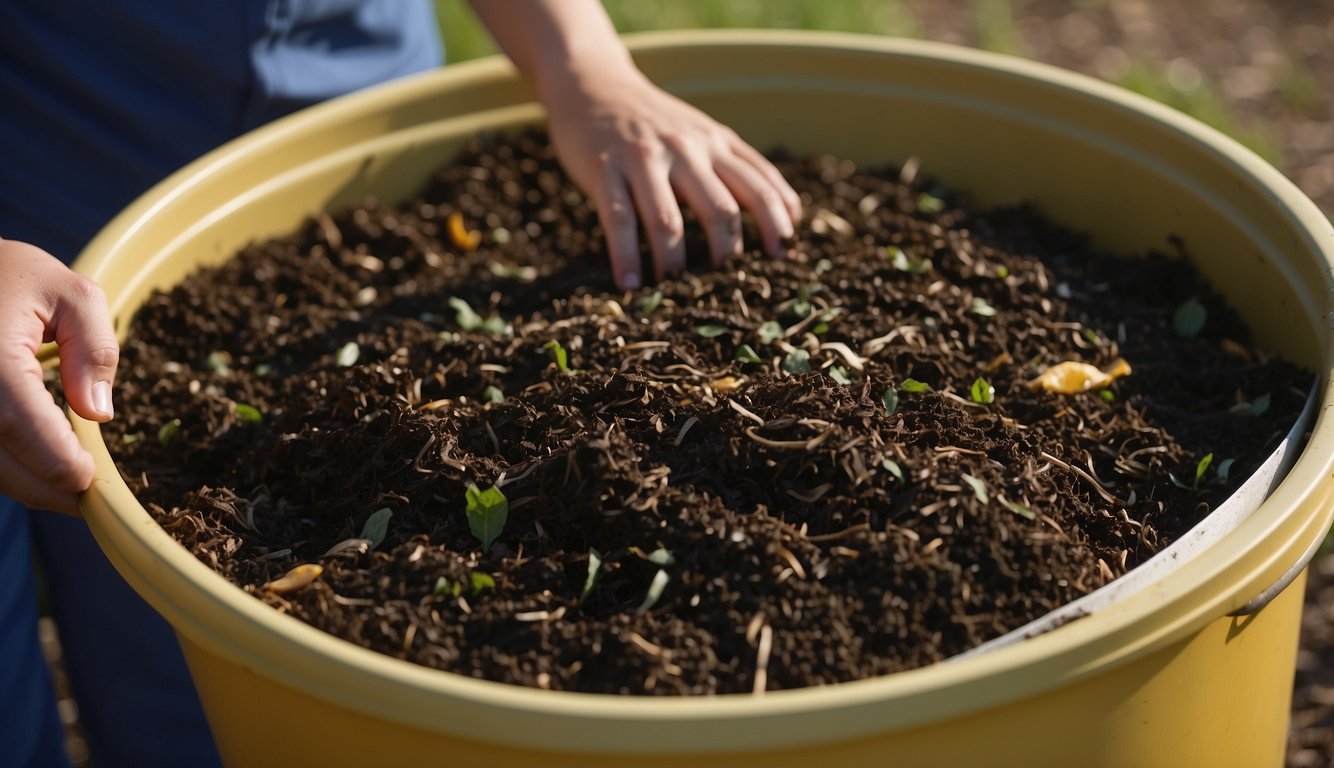
After the fermentation process is complete, the bokashi compost can be used in a variety of ways. Here are some tips on how to utilize your bokashi compost:
Curing and Burying Process – DIY Bokashi Bucket
Once your bokashi compost is ready, it needs to be cured before use. Curing is the process of allowing the compost to sit and break down further. You can cure your bokashi compost in a compost pile or by burying it in your garden soil.
To cure your bokashi compost in a compost pile, simply add it to your existing compost pile and mix it in. The compost pile should be turned regularly to ensure proper aeration.
To bury your bokashi compost, dig a hole in your garden bed and add the compost. Cover it with soil and let it sit for 2-4 weeks before planting. The bokashi compost will continue to break down and enrich the soil.
Incorporating into Soil or Worm Bin
Bokashi compost can also be incorporated directly into soil or added to a worm bin for vermicomposting. When adding bokashi compost to soil, it is important to mix it in well to ensure even distribution.
When adding bokashi compost to a worm bin, make sure to add it in small amounts and mix it in well. Too much bokashi compost at once can cause the bin to become too acidic and harm the worms.
Overall, bokashi compost is a great way to reduce food waste and create nutrient-rich compost for your garden. By following these tips for aftercare and utilization, you can ensure that your bokashi compost is used to its fullest potential.
Troubleshooting Common Issues – DIY Bokashi Bucket

As with any DIY project, there may be some issues that arise when creating a bokashi bucket. Here are some common problems and their solutions:
Managing Odors and Pests – DIY Bokashi Bucket
One of the most common issues with a bokashi bucket is the smell. While it is normal for the bucket to have a pickly or yeasty smell, it should not have a foul odor. If you notice a bad smell, it may be due to the lack of oxygen in the bucket. To fix this issue, try adding more holes to the lid or sides of the bucket to increase airflow.
Another issue that may arise is pests. If you notice fruit flies or other insects around your bucket, it may be due to the acidity of the bokashi mix. To prevent pests, try adding more bokashi mix to the bucket to increase the acidity. You can also try adding a layer of newspaper or cardboard on top of the food scraps to deter pests.
Dealing with Unwanted Mold
While it is normal to see white mold on top of the food scraps in the bucket, black or green mold may indicate a problem. Black or green mold may be due to the lack of oxygen in the bucket, so try adding more holes to increase airflow. You can also try adding more bokashi mix to balance the acidity.
If you notice mold growing on the inside of the bucket, it may be due to a lack of drainage. Make sure the drainage holes in the bottom of the bucket are clear and not clogged with food scraps. If the mold persists, you may need to start over with a new bucket and bokashi mix.
Remember, a bokashi bucket is an anaerobic system, so it is important to monitor it regularly to ensure it is functioning properly. With a little troubleshooting, you can create a successful bokashi bucket and turn your food scraps into nutrient-rich compost.
Environmental Impact and Sustainability – DIY Bokashi Bucket

Reducing Food Waste – DIY Bokashi Bucket
As an avid gardener, I am always looking for ways to reduce food waste and create a more sustainable lifestyle. One of the best ways to do this is with a DIY bokashi bucket. By using food scraps and other organic material that would otherwise end up in a landfill, you can create nutrient-rich compost that is perfect for your garden.
According to The Bokashi Bucket, “composting plays a crucial role in solid waste management and has impacted the environment in several positive ways.” By composting with a bokashi bucket, you are reducing the amount of waste that ends up in a landfill. This, in turn, reduces the amount of methane and carbon dioxide that is released into the atmosphere.
Bokashi and Soil Health
In addition to reducing food waste and landfill waste, using a bokashi bucket also has a positive impact on soil health. The nutrients in the compost created by the bokashi bucket are perfect for feeding your plants and improving soil quality.
According to Utopia.org, “the bokashi process is a unique way to deal with leftover food waste. It creates a nutrient-rich compost that can be used to improve soil quality and increase the nutrients in your home garden soil.” This means that by using a bokashi bucket, you are not only reducing waste but also improving the health of your garden and the surrounding environment.
Overall, using a DIY bokashi bucket is a simple and effective way to reduce food waste and create nutrient-rich compost for your garden. By reducing waste and improving soil health, you can create a more sustainable lifestyle while also enjoying the benefits of a thriving garden.
DIY Bokashi Bucket
Today, we’re diving into the world of Bokashi composting. And guess what? We’re making our own Bokashi bucket!
Firstly, let’s talk about Bokashi. It’s a Japanese method of composting, which ferments your kitchen waste into nutrient-rich compost. It’s quick, it’s easy, and it’s odor-free!
Now, the DIY Bokashi Bucket. You’ll need two buckets, one with a lid and one without. The one without the lid needs to have holes drilled in the bottom. Stack them, add your kitchen waste and Bokashi bran to the top bucket, and let the magic happen!
And here’s the best part! The liquid that drains into the bottom bucket is a potent plant fertilizer. Your plants will love it!
So, why not give Bokashi composting a try? It’s a fun, eco-friendly way to deal with kitchen waste.
For more eco-friendly DIYs, do visit the website theherbprof.com. Keep it green, folks!
References – DIY Bokashi Bucket
Little Herb Encyclopedia, by Jack Ritchason; N.D., Woodland Publishing Incorporated, 1995
The Ultimate Healing System, Course Manual, Copyright 1985, Don Lepore
Planetary Herbology, Michael Tierra, C.A., N.D., Lotus Press, 1988
Handbook of Medicinal Herbs, by James A. Duke, Pub. CRP Second Edition 2007
The Complete Medicinal Herbal, by Penelope Ody, Published by Dorling Kindersley
Check the Following Articles!
Fermented Cucamelons: Guide to Making & Enjoying Them
Are Hostas Edible? Everything You Need to Know
Cinnamon Rooting Hormone: Natural Alternative
Frequently Asked Questions – DIY Bokashi Bucket
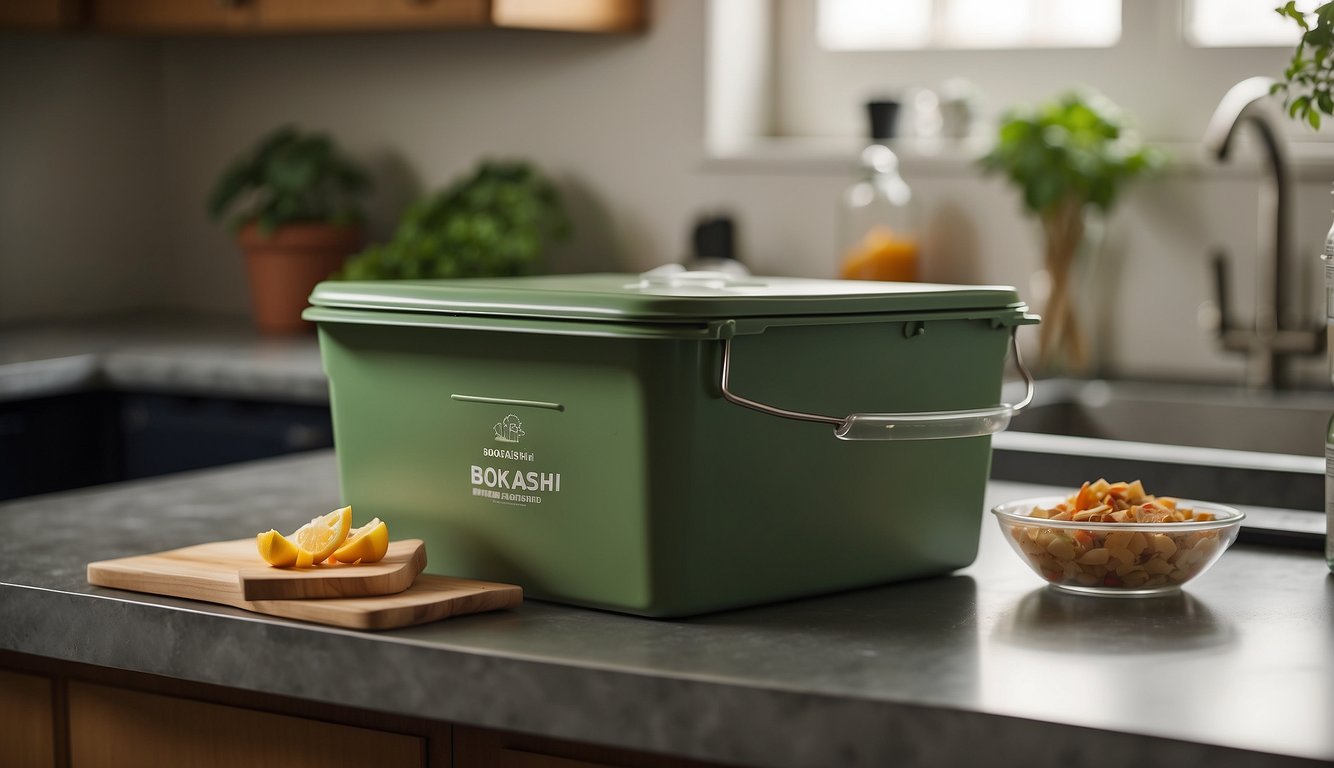
How do you create a bokashi composting bin at home?
Creating a bokashi composting bin at home is easy and affordable. You can either buy a ready-made bokashi bin or make one yourself using two airtight buckets, one that fits inside the other. Drill holes in the bottom of the inner bucket and layer the bottom with a few inches of bokashi bran. Add food scraps and sprinkle more bokashi bran on top. Repeat until the bucket is full, then seal the lid tightly. The bokashi composting process usually takes 2-4 weeks, depending on the temperature and humidity of your environment.
What can be used as an alternative to commercial bokashi bran?
If you cannot find commercial bokashi bran, you can make your own using a mixture of wheat bran, molasses, and water. Mix 1 cup of wheat bran, 1 tablespoon of molasses, and 1 cup of water in a bowl until the mixture is moist but not wet. Spread the mixture on a tray and let it dry for a few days. Once the mixture is dry, store it in an airtight container until you are ready to use it.
How do you make your own bokashi starter mix?
To make your own bokashi starter mix, you will need to mix a few ingredients together. Combine 2 cups of wheat bran, 1/4 cup of molasses, and 1/4 cup of water in a bowl. Mix the ingredients thoroughly until the mixture is moist but not wet. Spread the mixture on a tray and allow it to dry for a few days before storing it in an airtight container.
What are the steps for using bokashi compost effectively?
To use bokashi compost effectively, you should follow these steps:
- Collect food scraps in a separate container.
- Layer the scraps in the bokashi bin with a sprinkling of bokashi bran between each layer.
- Press down on the scraps to remove any air pockets.
- Seal the lid tightly and store the bin in a cool, dark place.
- Drain any excess liquid from the bin every few days.
- Once the bin is full, let it sit for 2-4 weeks to allow the bokashi composting process to complete.
- Use the compost in your garden or houseplants.
How does bokashi composting compare to traditional composting methods?
Bokashi composting differs from traditional composting methods in several ways. Unlike traditional composting, bokashi composting is an anaerobic process that relies on the use of microorganisms to break down organic matter. It is also faster than traditional composting, taking only a few weeks to complete instead of several months. Additionally, bokashi composting can be done indoors and can handle a wider range of food scraps, including meat and dairy products.
What are some common challenges when composting with bokashi?
One common challenge when composting with bokashi is the potential for mold growth. This can happen if the bokashi bin is not sealed tightly or if too much moisture is present. To prevent mold growth, make sure to drain any excess liquid from the bin regularly and keep the lid tightly sealed. Another challenge is the smell, which can be strong and unpleasant. However, this can be minimized by keeping the bin in a cool, dark place and using a high-quality bokashi bran.
